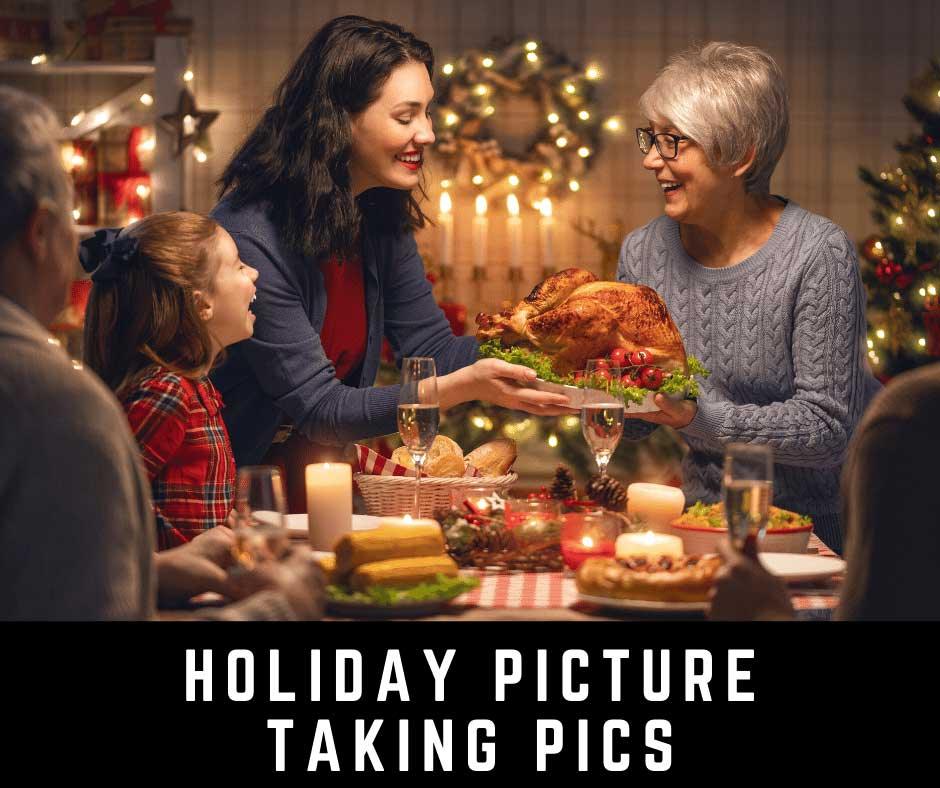
So, it is soon Christmas! The kids are getting excited as the time grows closer. You are looking forward to seeing the look on your little one's face when they open that shiny, new, exciting toy that Santa has delivered. And this year, you want something that's worth sharing with friends and family when you snap the shutter on your camera.
All too often we start out with the best of intentions when it comes to snapping off a few holiday photos for prosperity and wind up dismally disappointed for numerous reasons. It's not quite what it looked like in our mind's eye. The issue here is that cameras don't see quite the same way humans do. They have so many capabilities these days that we think they see as we do, but in reality, we, as mere humans, have to dial in and adjust settings to 'make' them see something similar to what we see.
The human eye is an amazing machine but alas, man-made technology never works at the same level of intuitive auto adjustment. But, don't close the door on capturing that smiling face this December 25th. We would like to share a few tips on improving those much sought after holiday photos.
TIPS FOR BETTER HOLIDAY PHOTOS
- Before you snap the shutter, decide what you want your shot to say. Is it a simple recording of little Suzie's Christmas dress? Perhaps, it's really a record of what Suzie herself looks like on this particular day that you are after.
- Once you decide what you want your photo to say, take a look at the background and decide if it suits your purpose. Is it a plain wall so you can record a full-length shot of Suzie in that dress or are Suzie and the dress being lost to a background that is super busy with clutter and toys? Maybe sitting on the sofa would be a better option.
- So, you know what you want to say, and what background you think will work best. What next? Bring little Suzie out a few feet from the background - especially if it is a wall. This will help avoid hard shadows that are very distracting and lend a hard edge to an otherwise pleasing image.
- Focal Point: remember what you decided was the main point of the photo in the first place and make it center stage. A focal point can be created by placing the main subject in the foreground or by filling the frame with it. A mistake many people make is they don't get close enough to really fill the frame - don't be afraid to get closer - oftentimes, one step toward the subject will make a huge difference.
- If you are taking a photo of someone who is standing, use your camera in the vertical position. This accomplishes two things: you can get closer and fill the frame, thus creating more of a focal point, and, because people stand in a vertical position it usually looks better if we give them that vertical room to stand in.
Merry Christmas!

